Product Attachments
Extension Installation
For Magento Marketplace Customers
-
Find the Composer name and version of the extension in the extension's composer.json file.
-
Login to your SSH and run:
- composer require mavenbird/module-productattachment
- Wait for Composer to finish updating your project dependencies and make sure there aren't any errors.
-
To verify that the extension installed properly, run the command:
- php bin/magento module:status Mavenbird_ProductAttachment
- By default, the extension is probably disabled.
- Enable the extension and clear static view files:
- php bin/magento module:enable Mavenbird_ProductAttachment --clear-static-content
- php bin/magento setup:upgrade
- For Magento version 2.0.x to 2.1.x - php bin/magento setup:static-content:deploy
- For Magento version 2.2.x & above - php bin/magento setup:static-content:deploy --f
- php bin/magento cache:flush
For Mavenbird Customers
- Extract the zip folder and upload our extension to the root of your Magento 2 directory via FTP.
- Login to your SSH and run below commands step by step:
- php bin/magento setup:upgrade
- For Magento version 2.0.x to 2.1.x - php bin/magento setup:static-content:deploy
- For Magento version 2.2.x & above - php bin/magento setup:static-content:deploy --force
- php bin/magento cache:flush
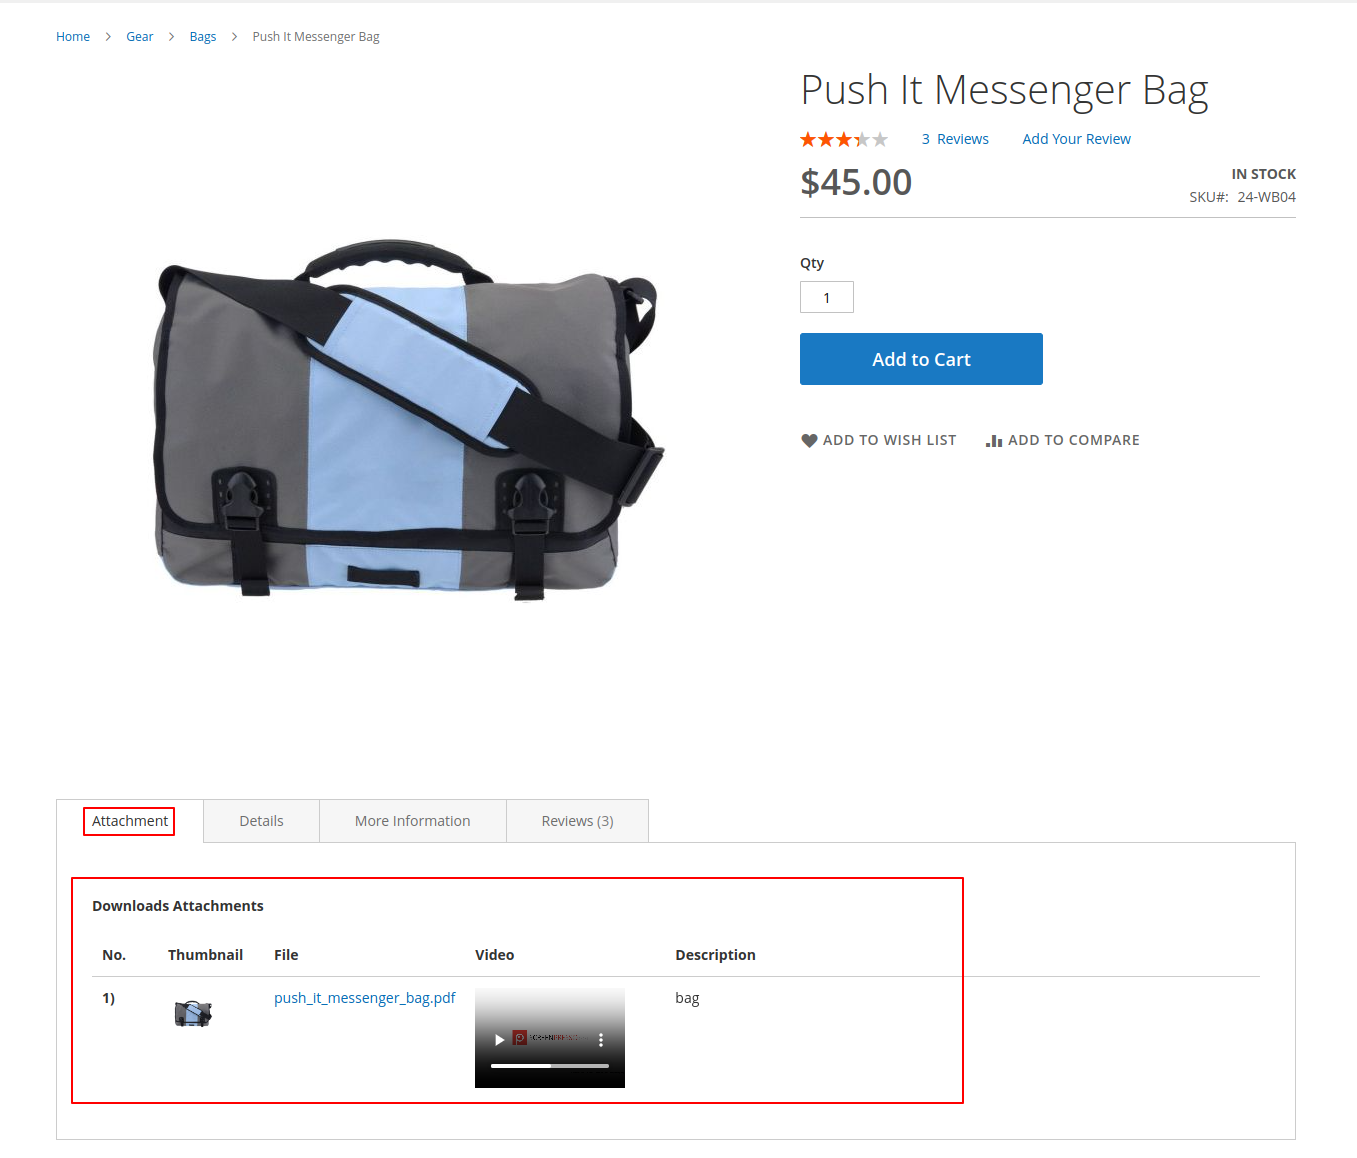
Further info on the products they buy in your store can be given to customers. You can add manuals, licenses, safeguards, and other data to your product pages through this extension. Use catchy icons to draw attention to your attachments in any format.
- Upload the number of attachments without limitation
- Any file types support
- Download Track Attachments
- Equip catchy icons files
Product Attachment Configuration
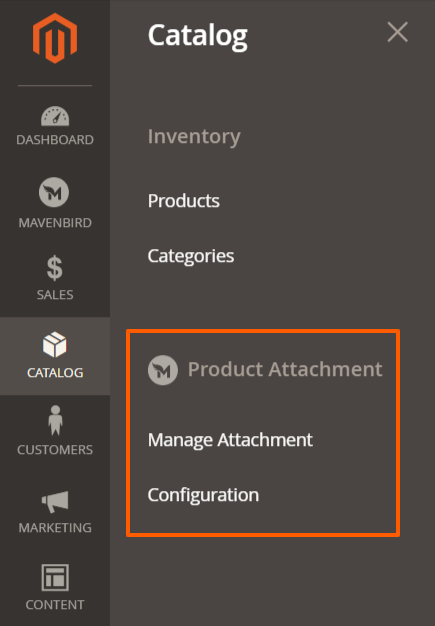
Settings for General Extension Catalog→ Product Attachment
Configuration
Settings for General Extension Stores → Configuration → MAVENBIRD EXTENSIONS → Product Attachments.
Extend the General tab.

Enable Extension- Click 'Yes' or 'No' to allow or deactivate the extension.
Manage Attachment
Settings for attachment Catalog->Product Attachment->Manage Attachment
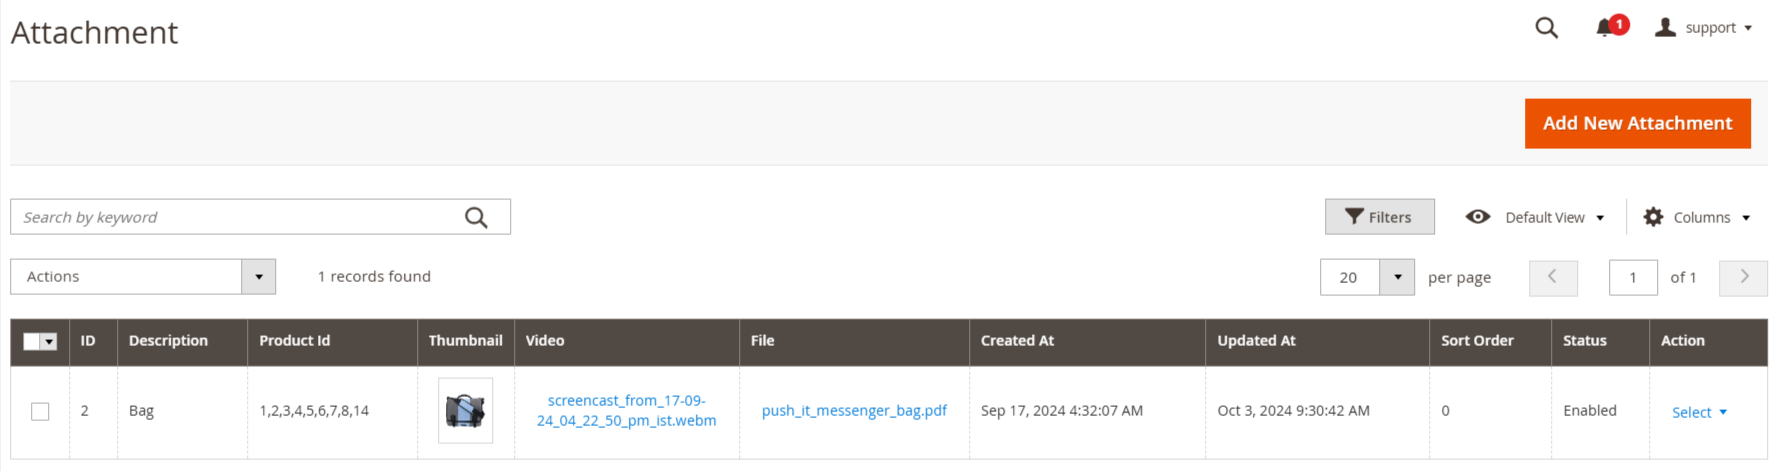
To add new attachment click on "Add New Attachment" button. Then below screen are shown.
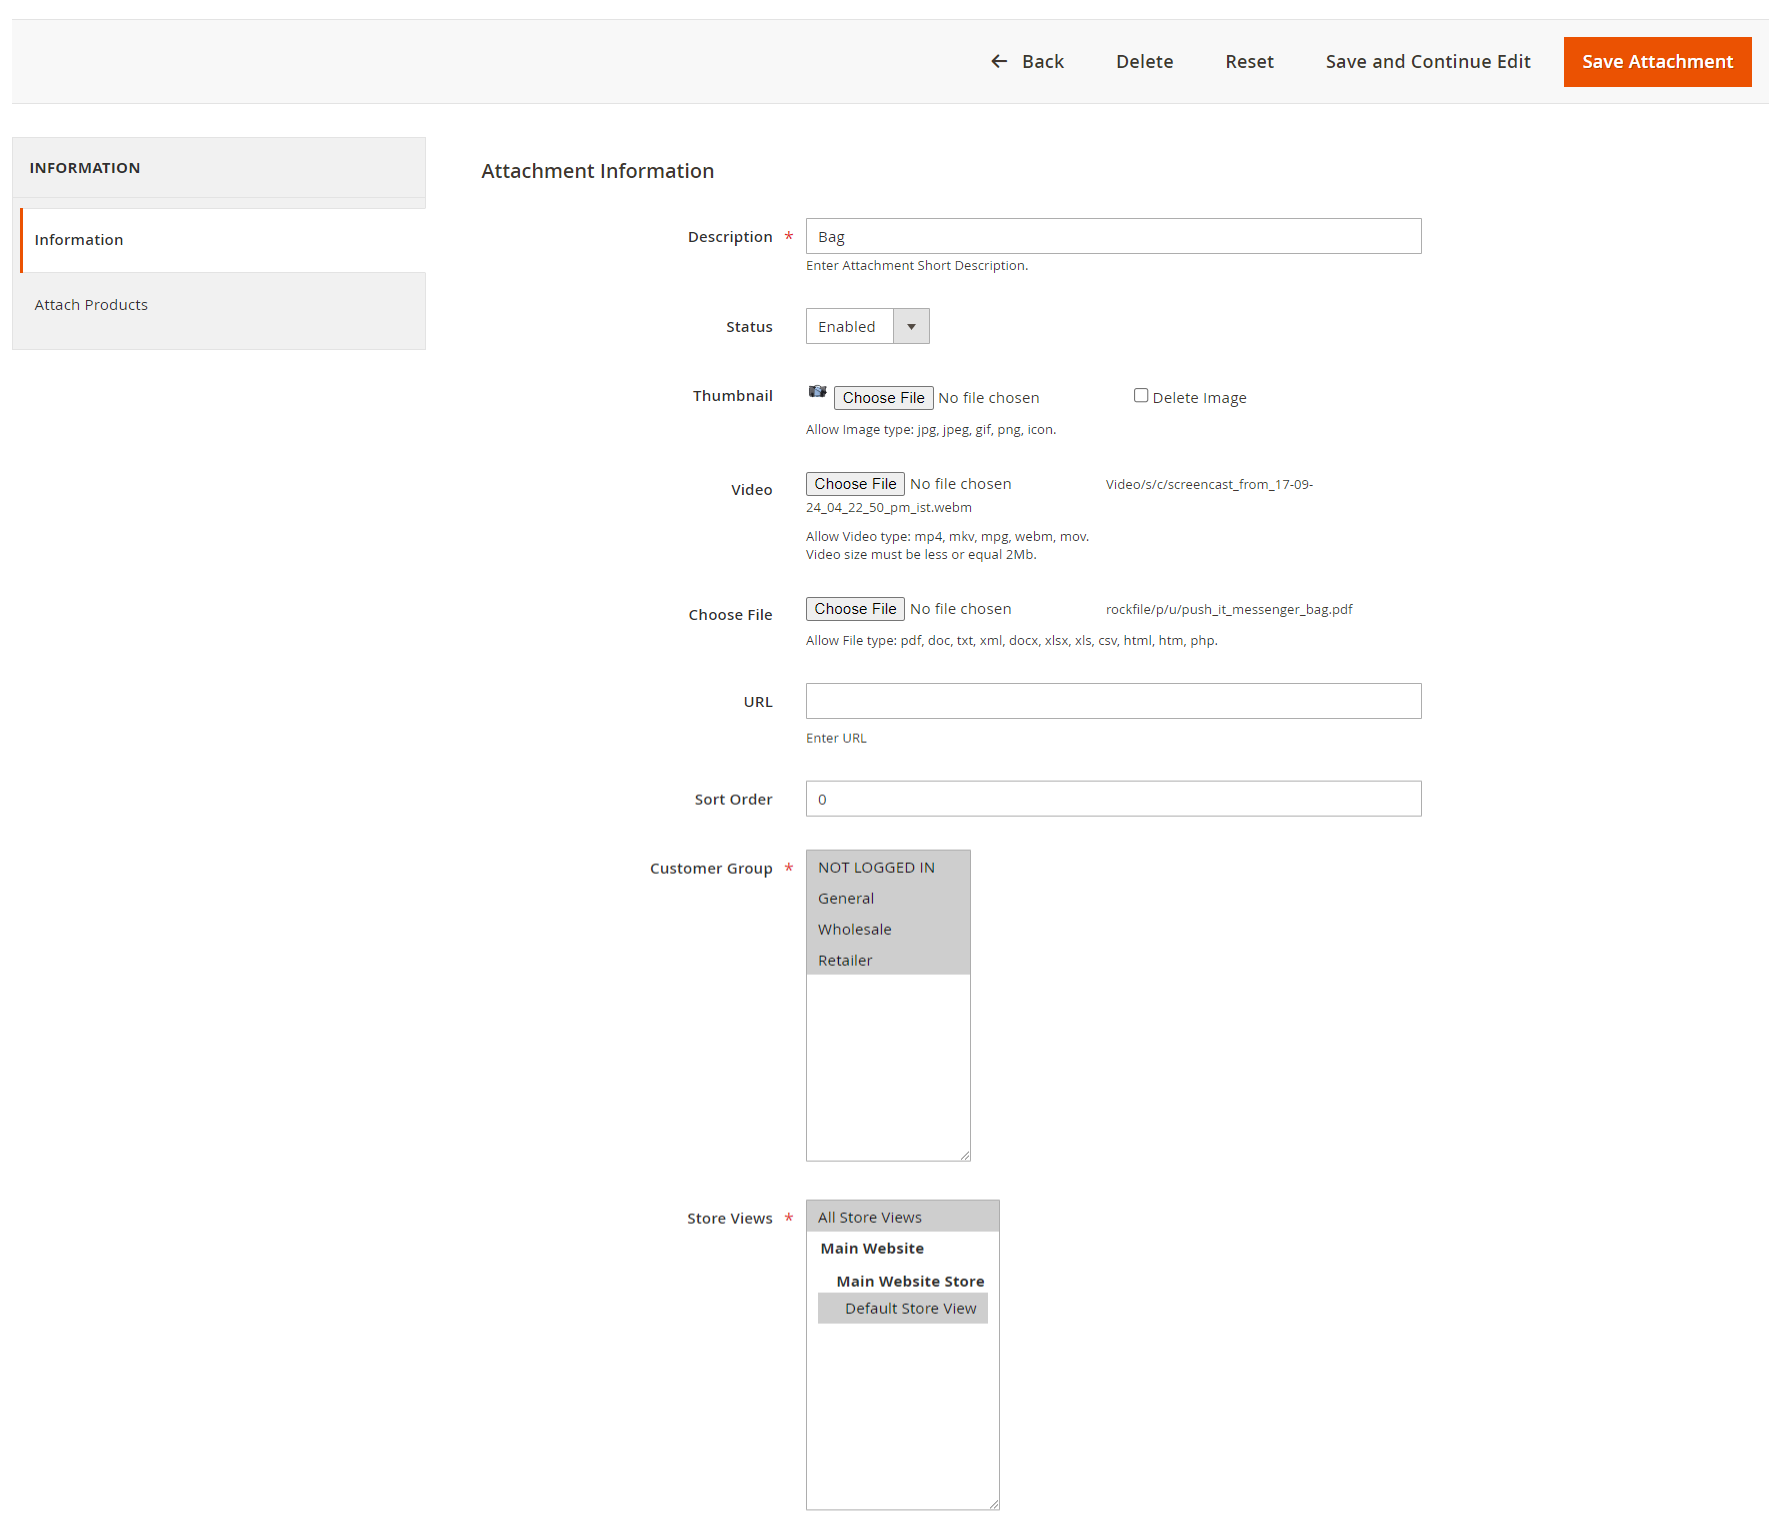
**Description:**A text field labeled "Description" where you can enter a short description of the attachment, in this case, "Bag."
**Status:**A dropdown menu to set the status of the attachment, with options to enable or disable it.
**Thumbnail:**An option to upload a thumbnail image for the attachment. It allows file types such as jpg, jpeg, gif, png, and icon.
**Video:**A field to upload a video file related to the attachment. Supported video formats include mp4, mkv, mpg, webm, and mov, with a size limit of 2MB.
**Choose File:**Another file upload option for additional attachments, allowing file types like pdf, doc, txt, xml, xls, xlsx, csv, html, htm, and php.
**URL:**A text field to enter a URL related to the attachment.
**Sort Order:**A numeric field to specify the order in which the attachment appears.
**Customer Group:**A section to select which customer groups can view the attachment. Options include "Not Logged In," "General," "Wholesale," and "Retailer."
**Store Views:**A section to select the store views where the attachment will be available, with options for "All Store Views," "Main Website," and "Default Store View."
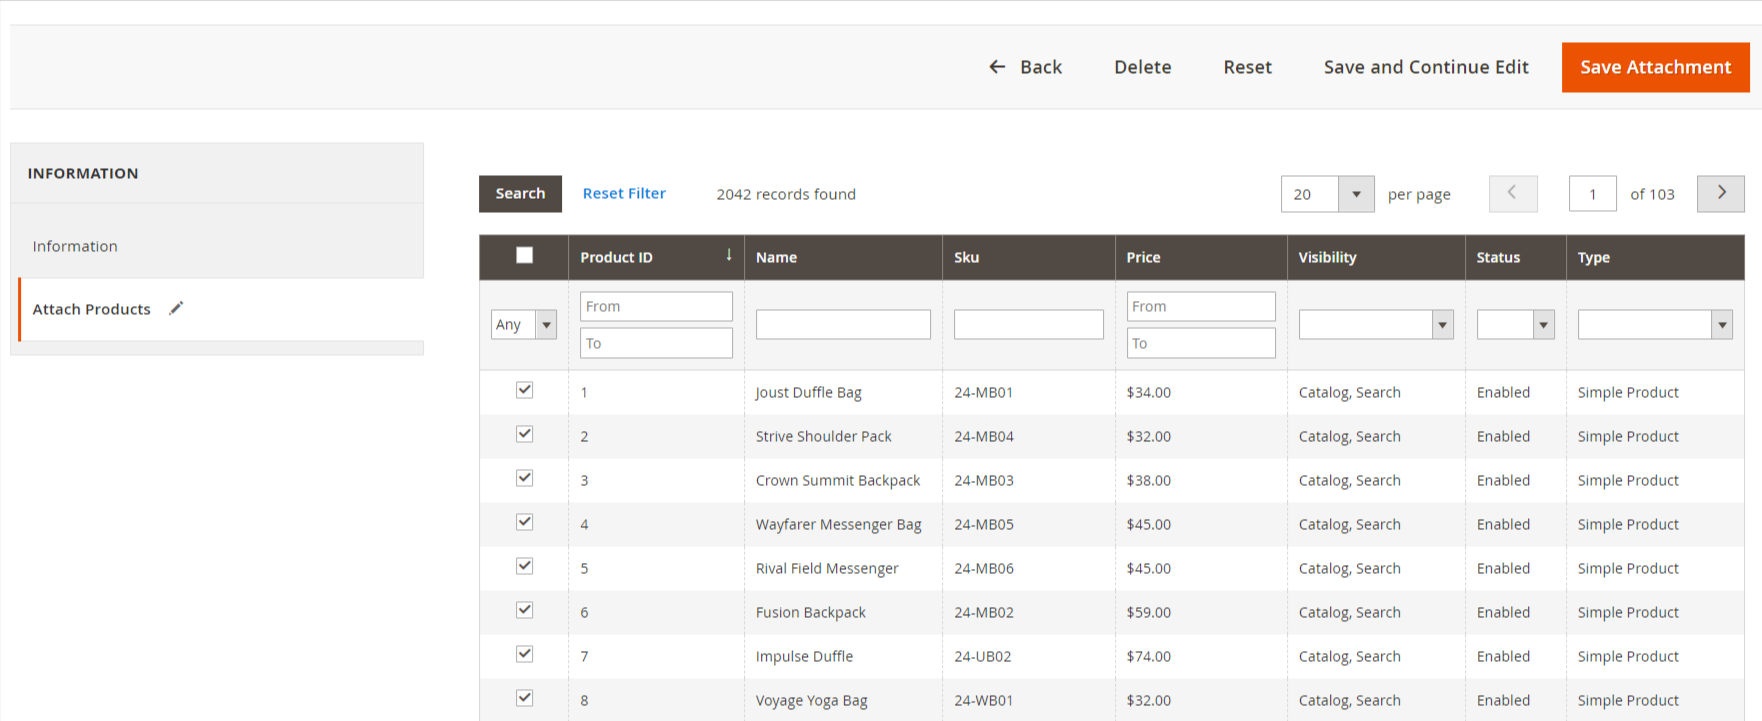
*We can select the product in which the attachment are shown.
Frontend View