SVG Image Uploader
Extension Installation
For Magento Marketplace Customers
-
Find the Composer name and version of the extension in the extension's composer.json file.
-
Login to your SSH and run:
- composer require mavenbird/imageuploader
- Wait for Composer to finish updating your project dependencies and make sure there aren't any errors.
-
To verify that the extension installed properly, run the command:
- php bin/magento module:status Mavenbird_ImageUploader
- By default, the extension is probably disabled.
- Enable the extension and clear static view files:
- php bin/magento module:enable Mavenbird_ImageUploader --clear-static-content
- php bin/magento setup:upgrade
- For Magento version 2.0.x to 2.1.x - php bin/magento setup:static-content:deploy
- For Magento version 2.2.x & above - php bin/magento setup:static-content:deploy --f
- php bin/magento cache:flush
For Mavenbird Customers
- Extract the zip folder and upload our extension to the root of your Magento 2 directory via FTP.
- Login to your SSH and run below commands step by step:
- php bin/magento setup:upgrade
- For Magento version 2.0.x to 2.1.x - php bin/magento setup:static-content:deploy
- For Magento version 2.2.x & above - php bin/magento setup:static-content:deploy --force
- php bin/magento cache:flush
Enhance your Magento 2 store's functionality by enabling customers to upload SVG and WEBP files seamlessly. This extension integrates directly with PageBuilder and other key areas of your store to streamline content management and improve user engagement.
- Allows uploads of SVG and WEBP files.
- Seamlessly integrates with PageBuilder, Wysiwyg editor, theme logo, favicon, product media gallery, attribute option swatch images, category image, and custom image uploader fields.
- Simplifies the upload process with an intuitive interface.
- Ensures secure uploads with built-in validation checks.
Page Builder Image Upload
Access Content > Pages or Content > Blocks and open the Page Builder editor.
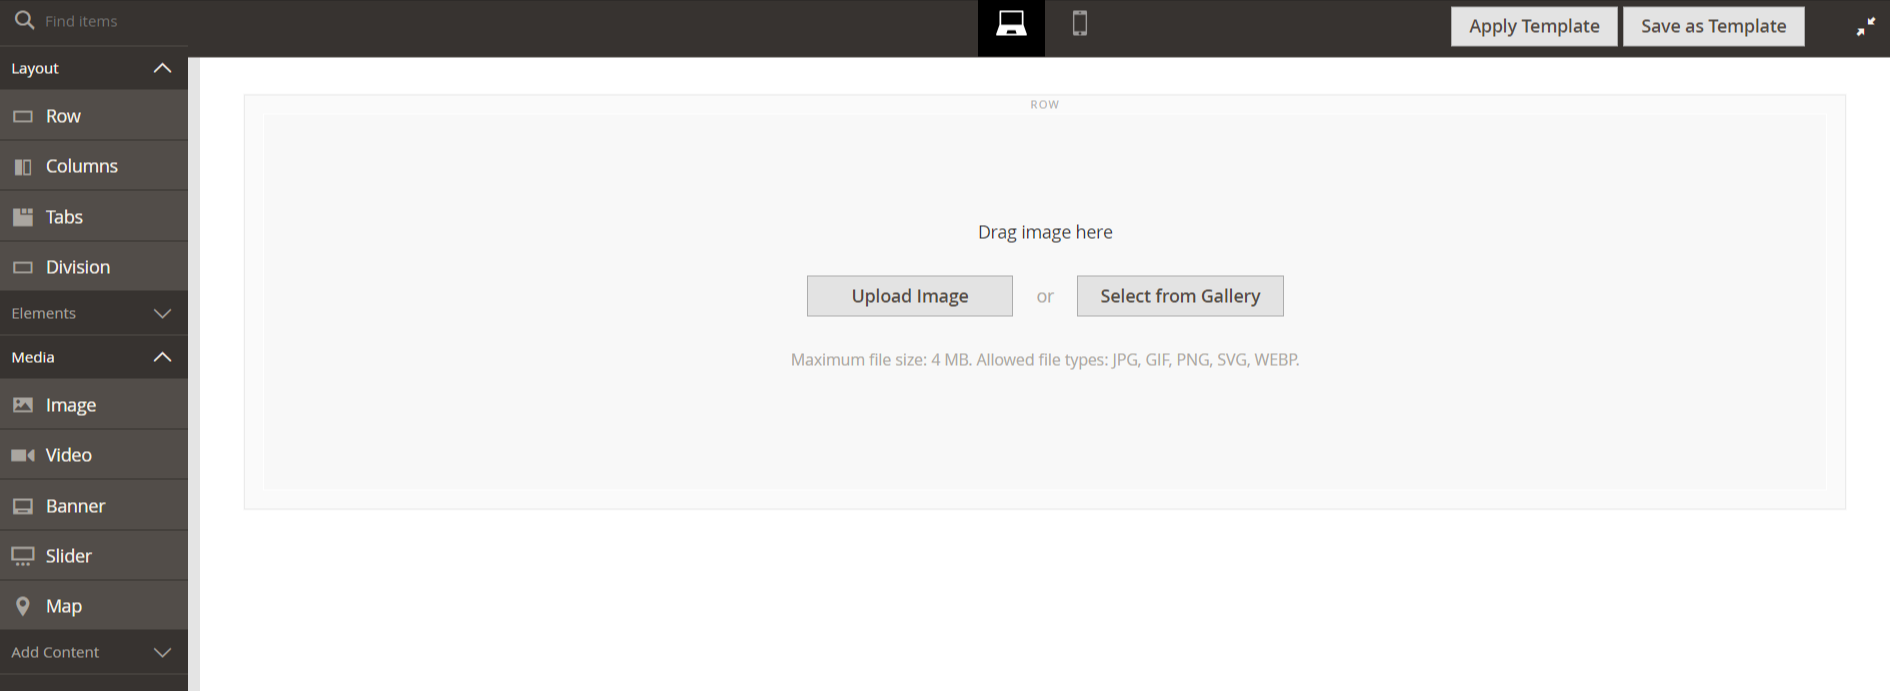
Drag and drop or click the "Upload Image" button to add SVG or WEBP files directly into your content.
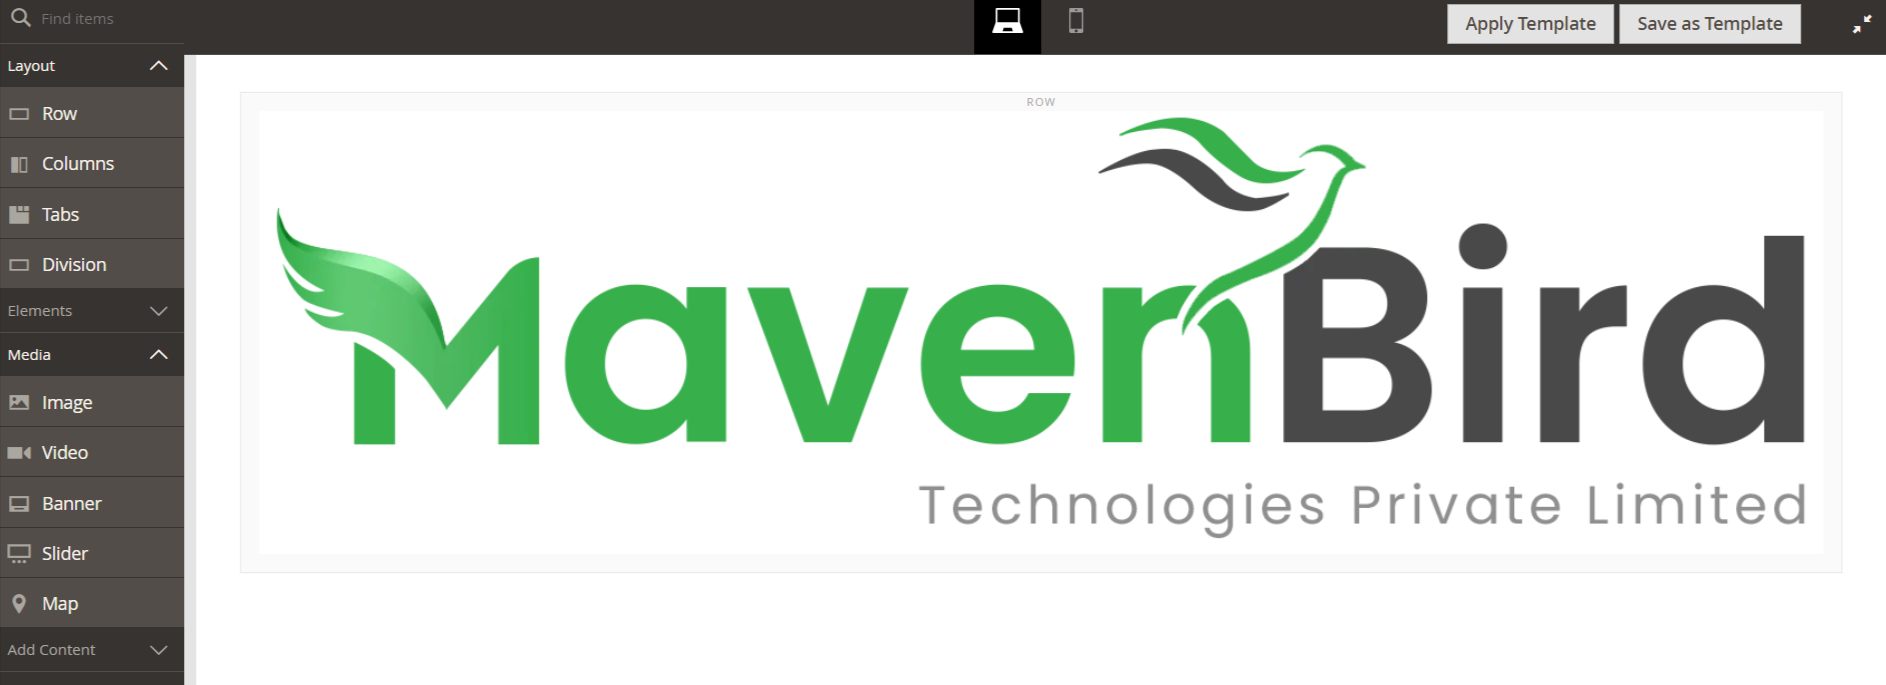
Save the page or block to apply the uploaded images.
Category Image Upload
Go to Catalog > Categories > Content.
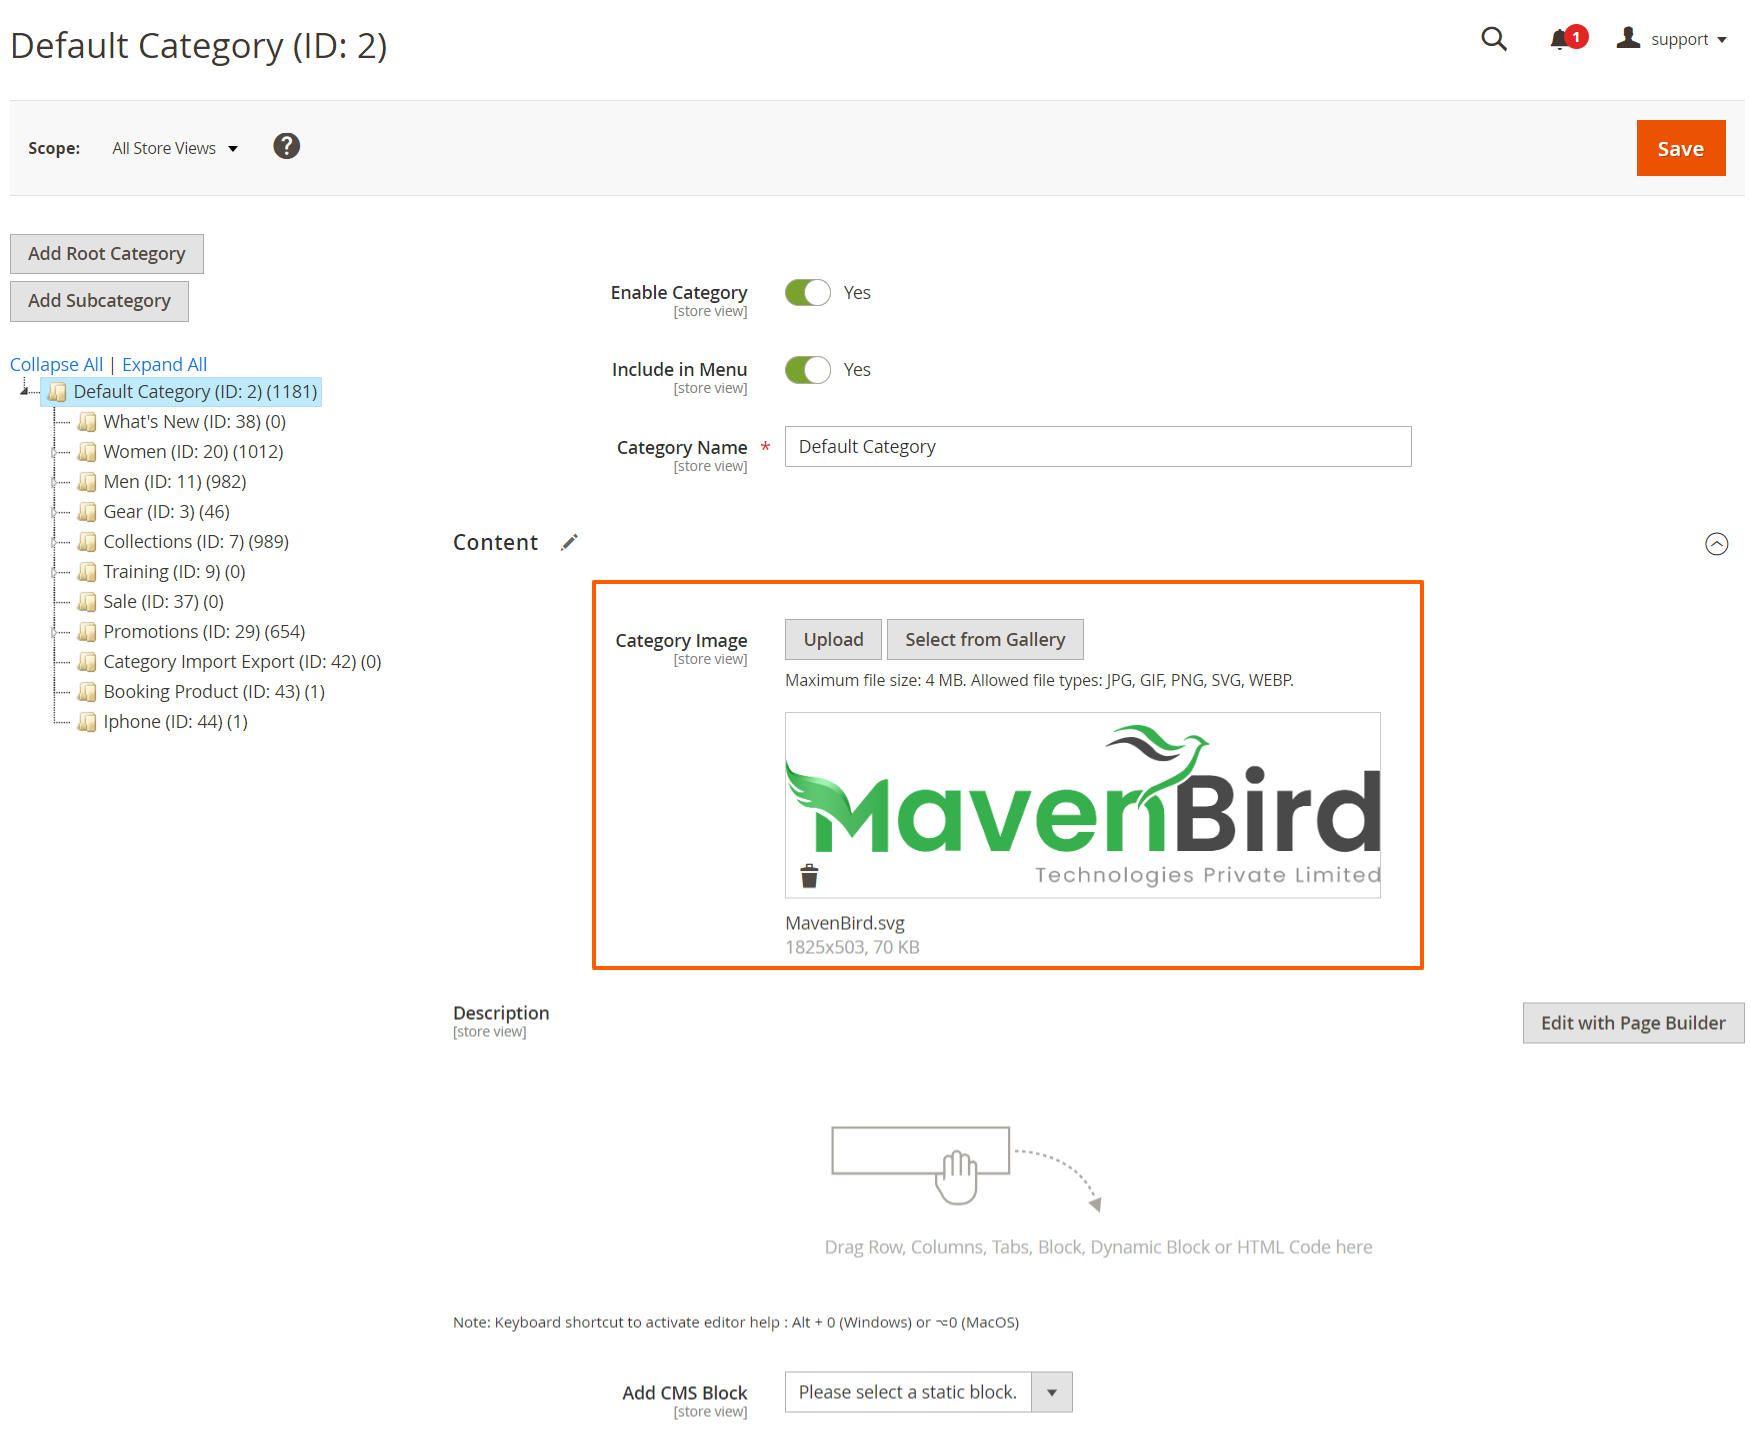
- Click on the category you want to edit.
- In the Category Image section, click the upload button and select your SVG or WEBP file.
- After uploading, save the category to apply changes.

Wysiwyg Editor Upload
Go to Catalog> Products > Add New Product > Content.
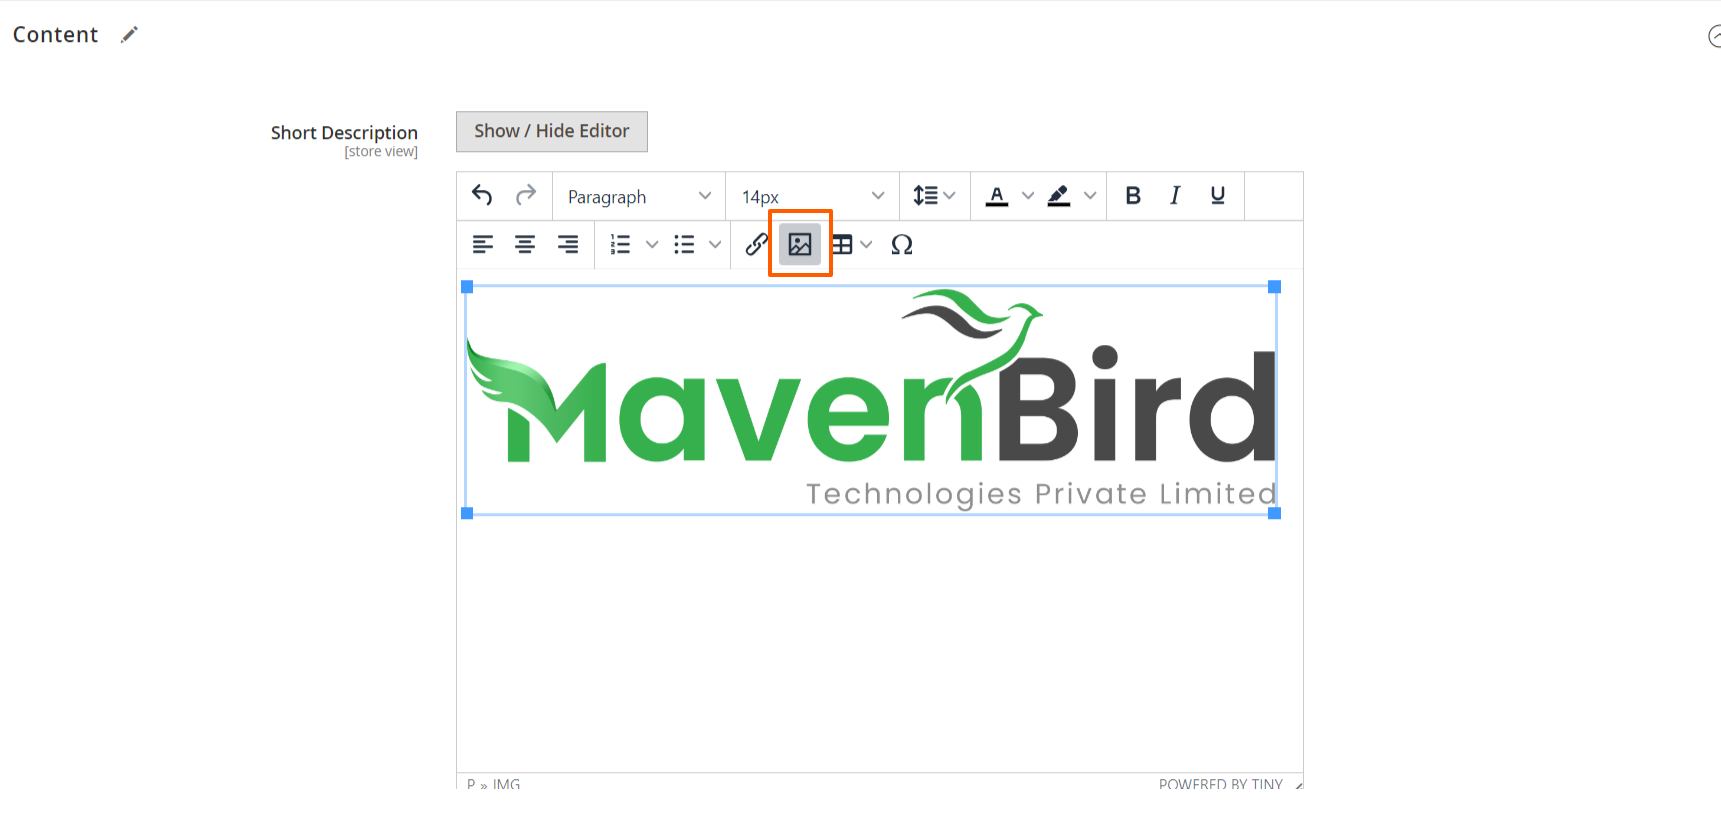
- Open a content page or block where the Wysiwyg editor is available.
- Click on the upload button in the editor to select and upload your SVG or WEBP files.
- After uploading, save the content to apply the changes.
Theme Logo and Favicon Upload
Go to Content > Design > Configuration.
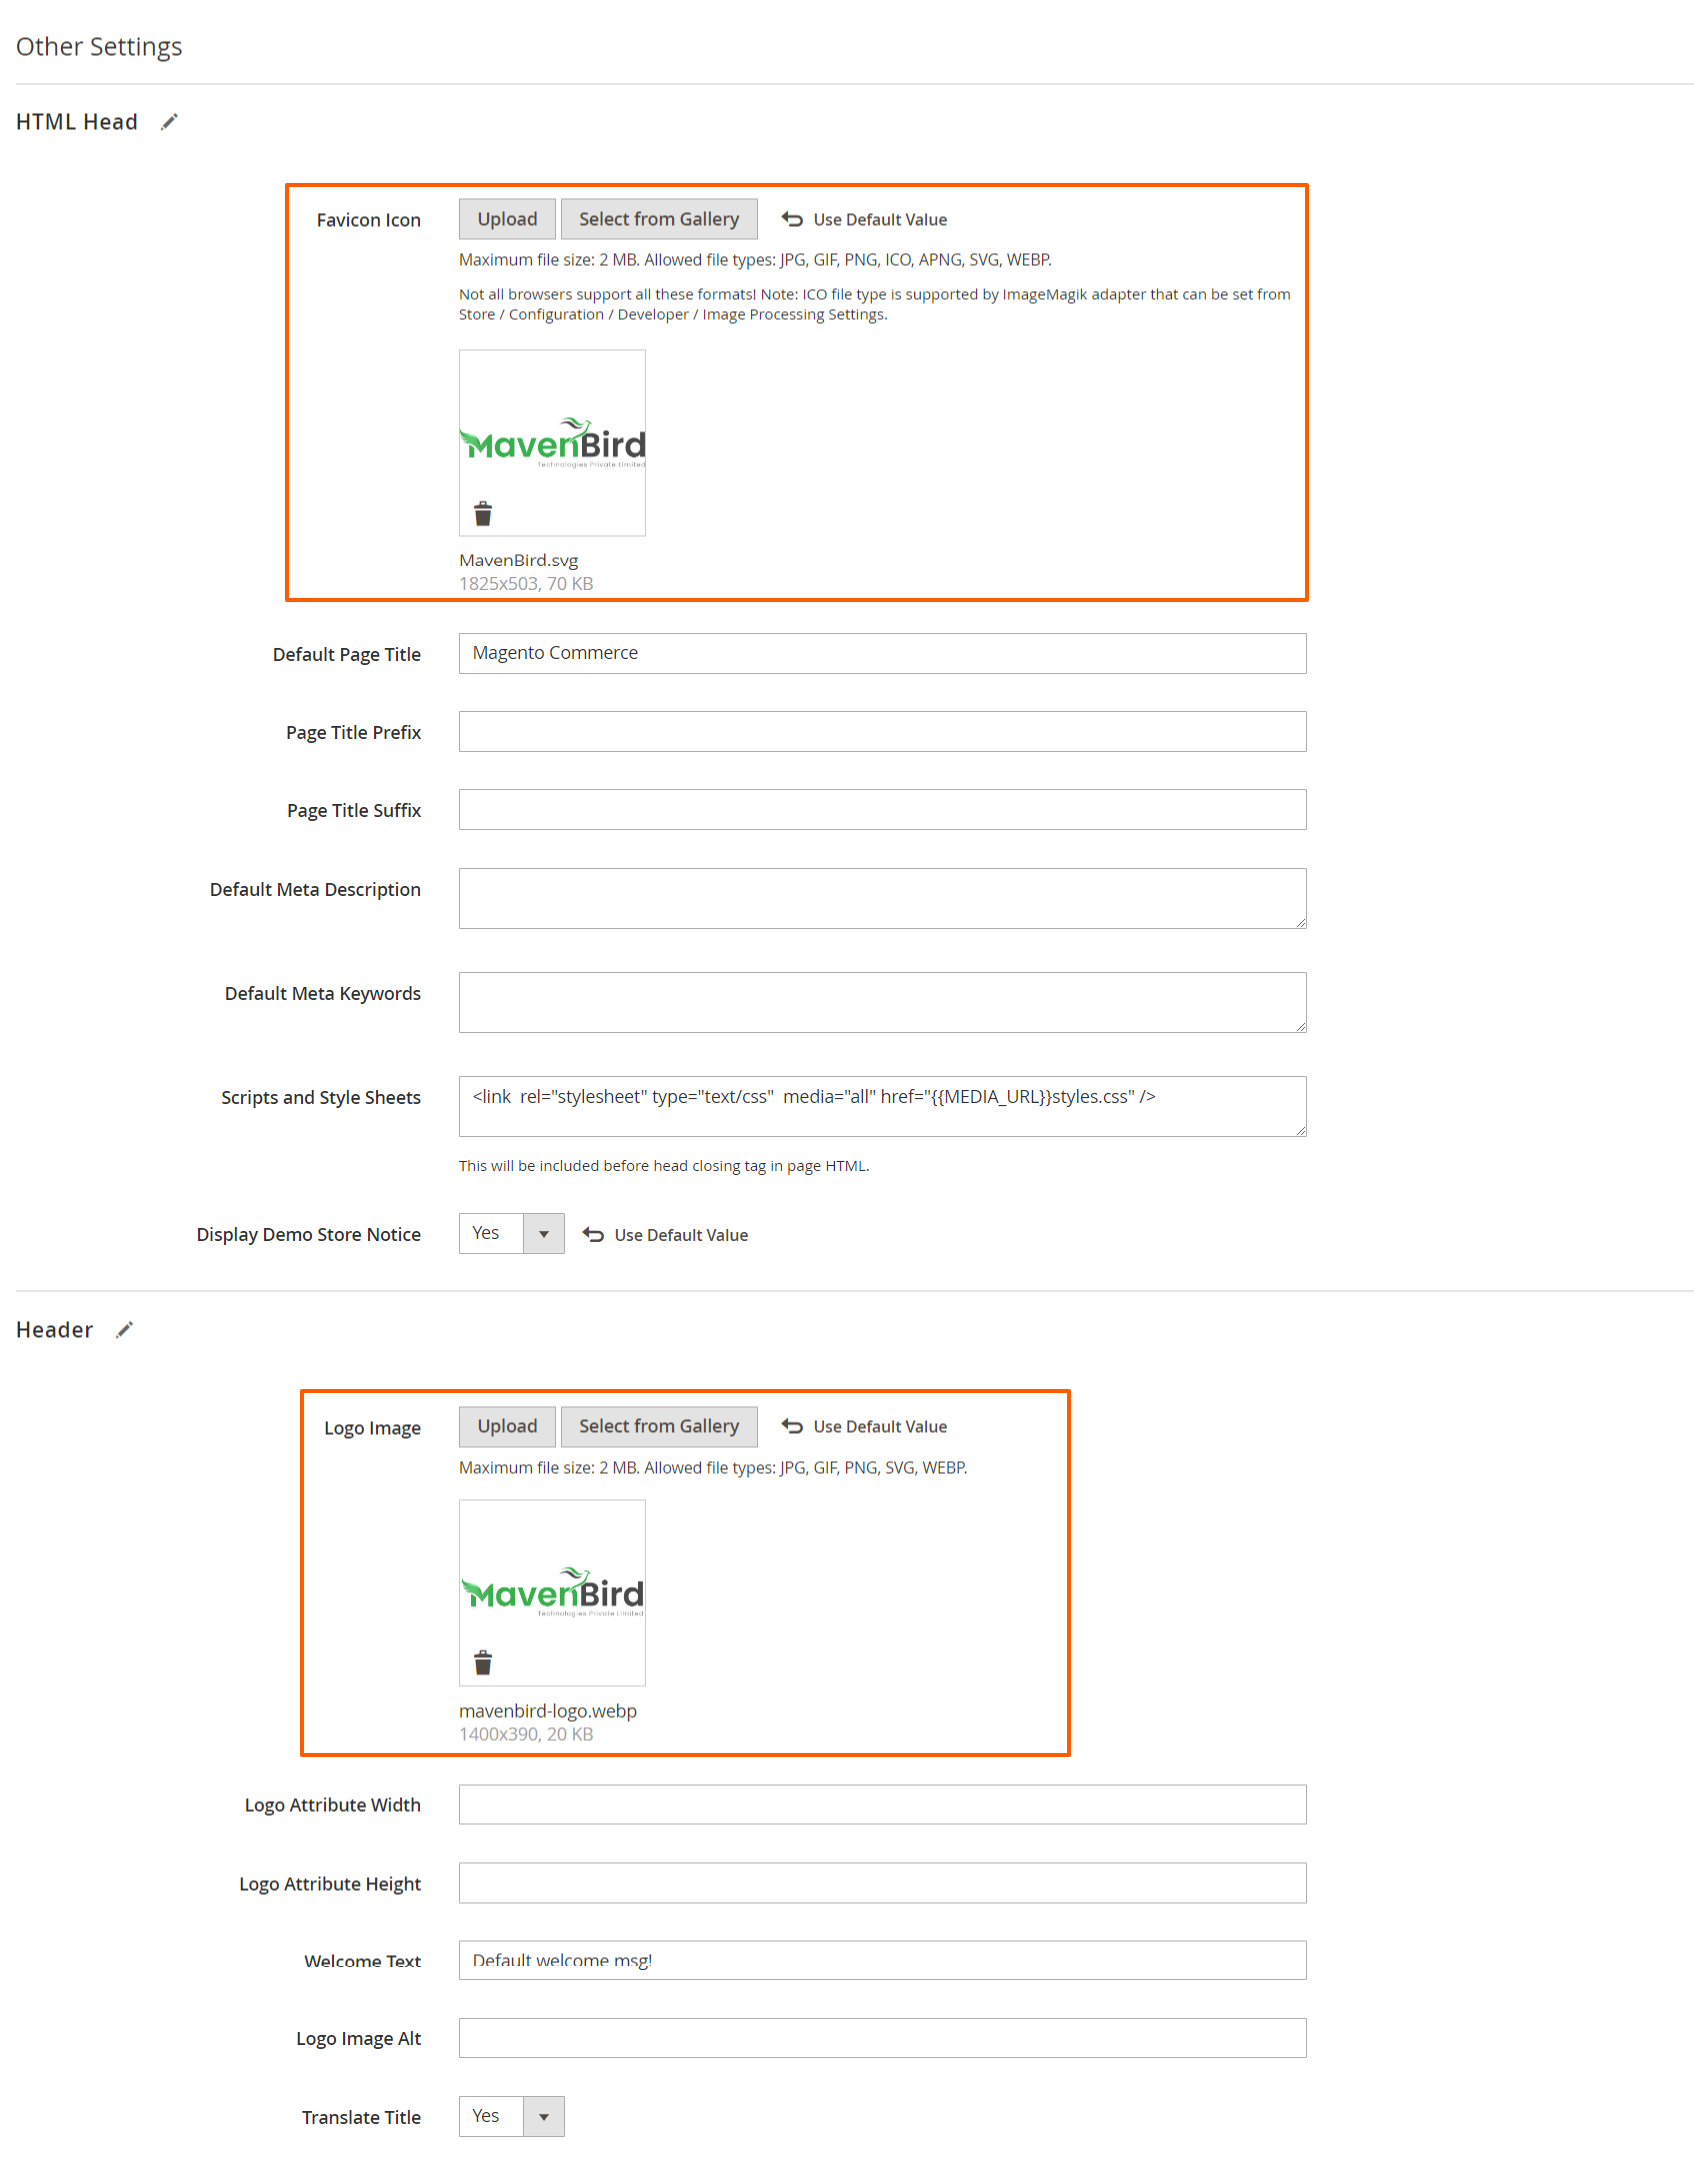
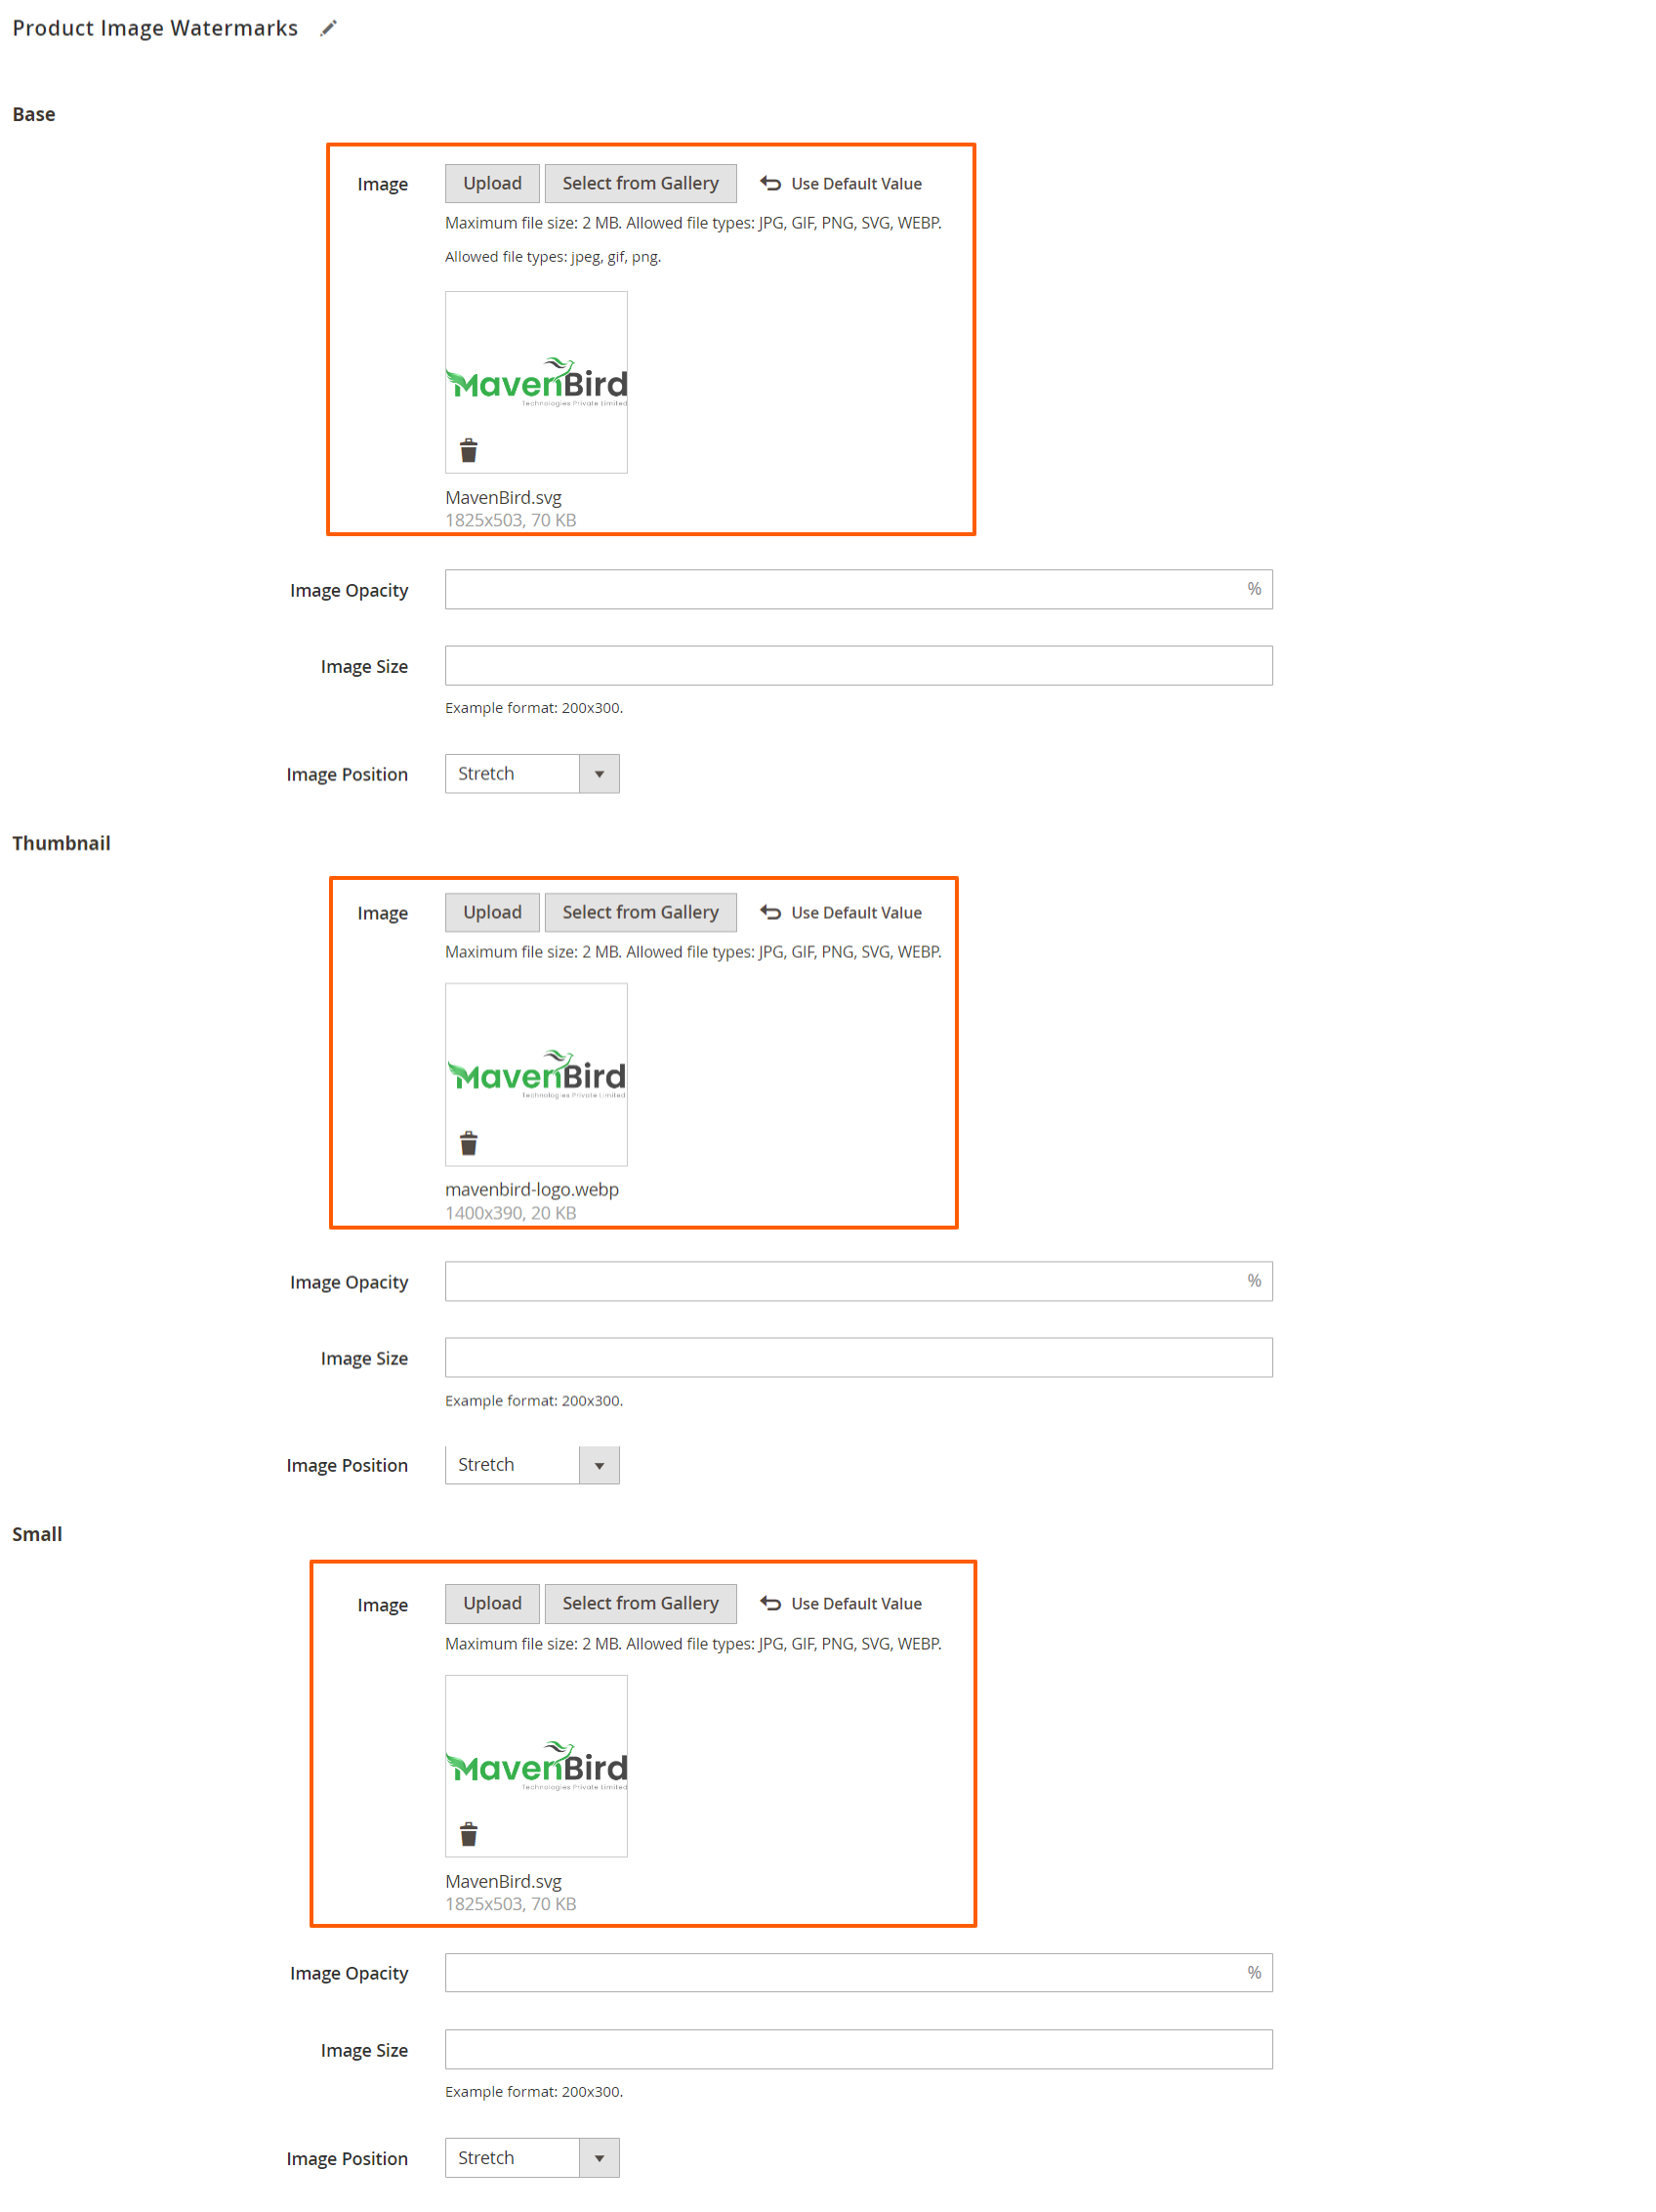
- Click on the theme you want to configure.
- In the Logo and Favicon sections, click the upload button and select your SVG or WEBP files.
- Save the configuration to apply your logo and favicon.