
MailerLite's Shopify integration simplifies syncing your Shopify customers with your MailerLite subscribers automatically. After installing the integration, you can easily assign your Shopify customers to a MailerLite group and unlock advanced e-commerce features, such as abandoned cart emails. In this guide, we’ll walk you through the benefits of integrating MailerLite with Shopify and provide a detailed, step-by-step tutorial on how to set up the integration.
What is MailerLite?
MailerLite is a popular email marketing platform known for its affordable pricing plans and standout features. It offers advanced targeting options, such as Facebook integration, and the ability to sell digital products or paid subscriptions, making it a versatile choice for businesses of all sizes.
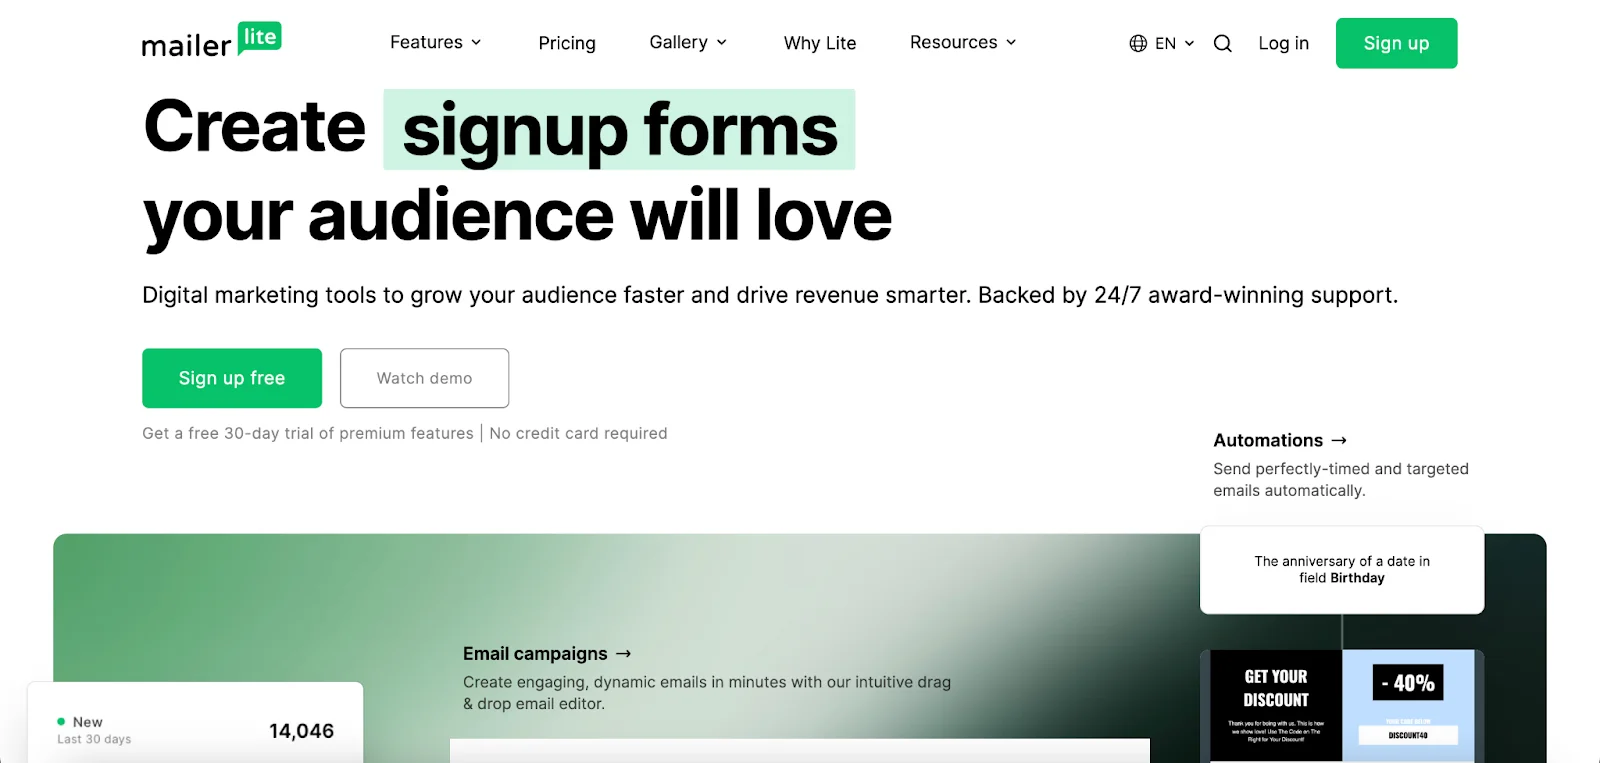
MailerLite offers a generous free plan that supports up to 1,000 subscribers and 12,000 email sends per month. Paid plans start at just $9 per month for up to 500 subscribers with unlimited email sends. Explore our in-depth MailerLite review to see if it fits your email marketing needs and budget.
Benefits of Integrating MailerLite with Shopify
Using Shopify with MailerLite simplifies your email marketing by allowing you to:
- Sync your Shopify customers and newsletter subscribers directly to your MailerLite account.
- Store all customer details from Shopify, including email addresses, names, and order information.
- Automatically create specific groups in MailerLite based on Shopify data, such as new customers, non-purchasers, big spenders, repeat buyers, and more.
- Track revenue to understand how your emails impact sales, helping you optimize your email content for better results.
- Easily import all your product details from Shopify (images, links, and text) into MailerLite’s drag-and-drop newsletter builder.
- Send automated messages and special offers to customers based on their recent purchases.
- Set up abandoned cart emails to encourage customers to complete their purchases.
- Create free landing pages and pop-ups to grow your subscriber list, showcase new products, and increase sales.
Setting Up the MailerLite Integration with Shopify
To set up the MailerLite integration with Shopify, follow these steps:
- Search for MailerLite Email Automation by MailerLite in the Shopify App Store.
- Click Install.
- You’ll be redirected back to your Shopify admin panel. Click Install again.
- Next, you’ll need to connect and authorize your MailerLite account. Click Connect to log in.
- After logging in, click Authorize to complete the setup.
Syncing Shopify Customers with MailerLite
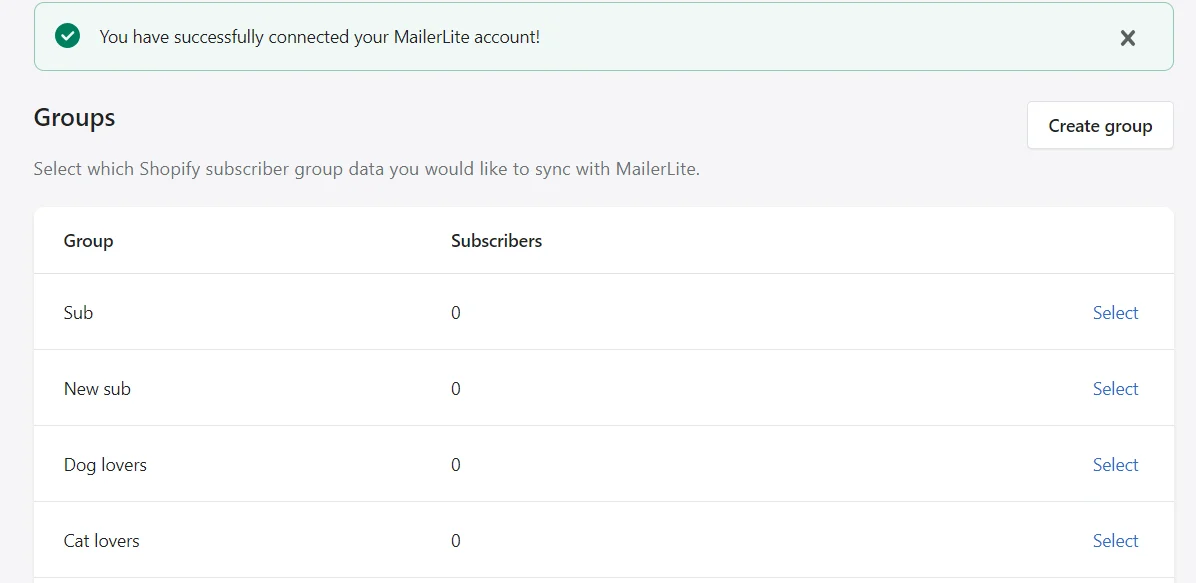
After authorizing, you’ll be prompted to choose a Subscriber group where your Shopify customers will be added. You can either select an existing group or create a new one.
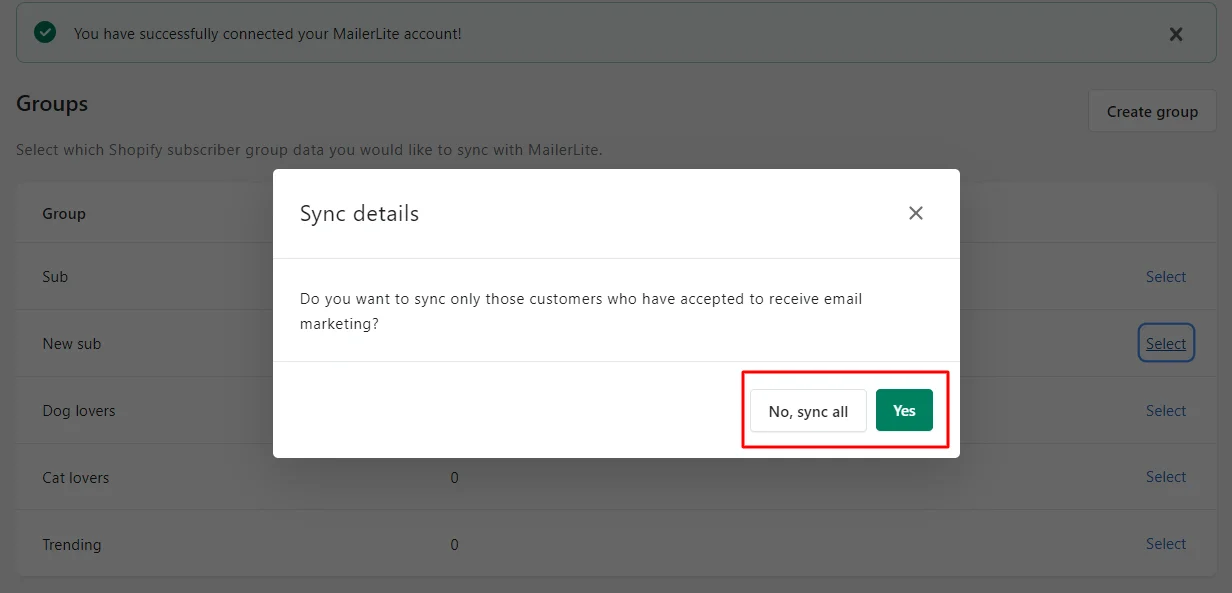
Once you’ve selected the group, a pop-up will appear asking if you want to sync all Shopify customers to that group or only those who have opted in to receive marketing emails.
- If you select Yes, only customers who have agreed to receive marketing will be added to MailerLite.
- If you select No, sync all, all of your Shopify customers will be added to MailerLite, regardless of their marketing preferences.
Note: Only customers who have consented to receive marketing emails can trigger e-commerce automations. According to MailerLite’s Terms of Use and anti-spam policy, you are not permitted to send marketing emails to customers who have not explicitly agreed to receive them.
Adding MailerLite Forms to Your Shopify Store
Adding pop-up forms
To display a MailerLite pop-up form on your Shopify site, start by creating the form in your MailerLite account and ensure that it’s turned ON.

Once activated, the pop-up form will show up on your Shopify site according to the visibility settings you’ve set in MailerLite.
Integrating embedded forms
To integrate a MailerLite embedded form into your Shopify site, follow the same installation process as you would for any website with embedded forms.
Key Features of the MailerLite Integration with Shopify
1. Synchronizing Data and Tracking Sales
When you integrate your Shopify customers with MailerLite, their details such as names, emails, and order history are automatically transferred and stored in your subscriber database. This allows you to segment your audience based on these details. Some of the key Shopify data fields include:
- Shopify Orders Count: The total number of orders placed by a subscriber.
- Shopify Total Spent: The overall amount spent by a subscriber on your store.
- MailerLite Marketing Consent: Indicates if a customer has opted to receive marketing communications.
Additionally, you can track the impact of your email campaigns by monitoring sales performance. To track sales linked to your campaigns:
- Navigate to the Campaigns section.
- Click on the Sent tab.
- Find the campaign you want to analyze and select View Report.
- Click the E-commerce tab.
- You will see the number of orders generated, total revenue from the campaign, and the conversion rate of email recipients who made a purchase.
Note: The revenue shown in Total Revenue may differ from your Shopify Total Spent data. This difference occurs because Total Revenue reflects only the income from MailerLite campaigns, including all sales within 30 days of clicking any campaign link or automation. In contrast, Shopify Total Spent encompasses all orders, including those not influenced by MailerLite campaigns.
2. Using Product Blocks in Newsletters, Landing Pages, and Websites
Save time by adding product blocks to your newsletters and websites. These blocks will automatically pull in product images, descriptions, and prices from your Shopify store and link directly to the product pages.
To add a product block to your newsletter, follow these steps:
- Open your campaign in the Drag & Drop Editor.
- Locate the E-commerce blocks in the left sidebar.
- Drag the desired product block and place it within your newsletter.
To add products to your newsletter:
- Click on the product block to select it.
- Click on Add products from your store.
- A window will appear where you can choose the products you want to showcase.
- Click Insert to add the selected products to the block.
- Select the product block you want to edit.
- Click the pencil icon in the sidebar.
- Modify the image, product name, URL, price, and call-to-action (CTA) button as needed.
For landing pages and websites, product blocks are available directly in the site editor. Look for the Products block under Products and Subscriptions in the Blocks section.
3. E-Commerce Automation Triggers
Once you integrate Shopify with MailerLite, you’ll gain access to additional e-commerce automation triggers in the workflow editor. These include:
- Abandoned Cart
- Purchase of Any Product
- Purchase of a Specific Product
- Purchase from a Specific Category
Note: To trigger a workflow based on a purchase, the order status must be set to "Payment Accepted".
4. Abandoned Cart Emails
MailerLite allows you to automatically send emails when a subscriber abandons their shopping cart. These emails can be triggered in several ways:
- Registered and Logged-In Customers: If a logged-in customer adds an item to their cart and their email is on your MailerLite list, an email can be triggered immediately.
- Existing Subscribers: If a customer who is already on your list fills out an order form and provides their email, the abandoned cart email can be triggered, even if they don't complete the checkout process.
- First-Time Buyers: If a new customer enters their email during checkout or subscribes to your marketing, they’ll be added to your MailerLite list, enabling abandoned cart emails. However, if they don’t enter their email or aren't on your list, an email can't be triggered.
Note: Subscribers who have unsubscribed cannot trigger abandoned cart automations. Abandoned cart email notifications can only be sent to shoppers who are on your MailerLite subscriber list.